

The 5 Step Creation Process

Starting with an idea and ending up with a polished product can be an intimidating and arduous process, but it’s the most gratifying thing in the world. Even as high schoolers, many of us have the drive to create whether it’s art, games, videos or music, but sometimes you don’t know where to start. I hope these steps bring you a bit closer to taking that idea in the back of your head and turning it into reality.
Step 1: Brainstorming and Narrowing Ideas
Every project

starts with an idea! Though it might be tempting to go all-in with your first idea, you should always brainstorm for alternatives or modifications. For art and design, you can create many thumbnail sketches until you find a concept you love. Experiment with small things like line weight and page orientation; some details can be crucial in bringing the piece together.

To illustrate, I’ll be using a painting I did for a contest recently. The theme was Journey to an imaginary world, and so I started with some brainstorming. A couple of ideas I came up with were a little cottage on a floating island, a majestic cave with a waterfall and statue, and an Atlantis-type underwater castle. Though I liked all three of my ideas, I ended up settling on the third idea because I thought that I could bring a lot of colour and life to the picture.

Step 2: Developing the Foundation
Once you’ve picked your idea, it’s time to dive in. Get right into the nitty-gritty of your idea, and if there is anything you want to change, do it at this step. It’s tough to build something great when it’s on a weak foundation.In my case, I took my idea and redrew it on a larger piece of paper, adding in all the architecture of the castle and little details.
Step 3: Building it up
Now that you have a solid foundation, it’s time to get to work. This step is the most laborious and time-consuming, but it’s also where you make the most progress. At times it can be tough to find the motivation to keep working; a lot of my pieces have been stuck at this stage for months for this very reason. When I lose motivation, I schedule a 2-hour block of my day where I force myself to work on my painting. Setting a specific time to work makes it much easier to get started.Here’s a work in progress picture of my piece:

Step 4: Fix, Fix and Fix Again
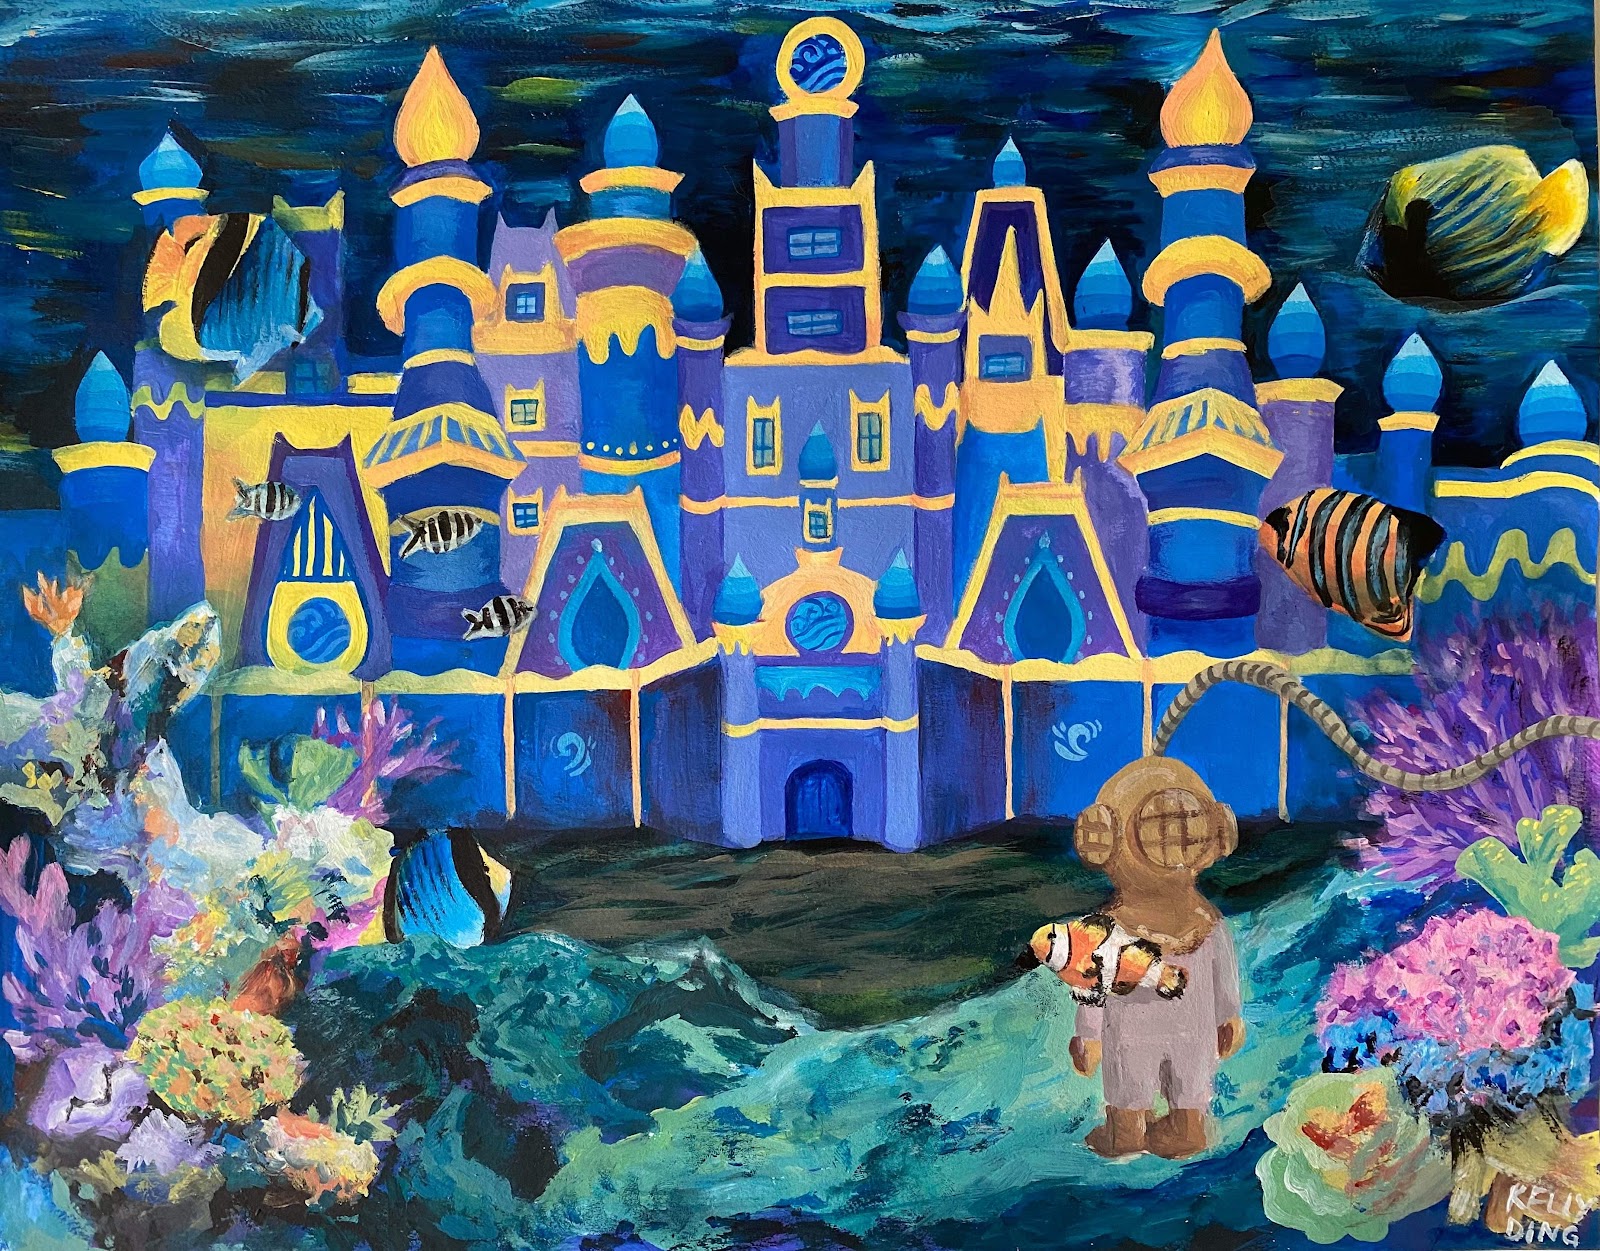
This step is really where the magic happens. Look at your product with a critical eye, and think about ways you can improve it. Sometimes flaws aren't glaring, so you might need to come back a day later or have someone give you feedback. Of course, nothing is ever perfect. No matter how much you improve something, you might never be 100% satisfied, and that’s okay.For me, even though I could’ve left it and called it done, there were still little things I wanted to improve. I changed the colour of the deep sea diver’s equipment and added bubbles all over to tie it all together.
Step 5: Finished Product!

Congratulations, you’ve made it! Take a step back, and marvel at your finished product.Here was the final version of my painting!I hope these tips brought you a little bit closer to achieving your goals! It’s never too late to turn your idea into reality. The hardest part is getting started, so I encourage you, just start. Good luck!


